Ingredients
For the cake:
- 200g butter
- 200g caster sugar
- 4 medium eggs
- 2tsp vanilla extract
- 200g self-raising flour
- 1tsp baking powder
For the buttercream:
- 450g icing sugar
- 150g butter
- 1tsp vanilla extract
- Food colouring; purple, pink, green and blue
To decorate and fill:
- Hundreds and thousands
- M&Ms
- Skittles
- Haribo sweets
- Dolly mix
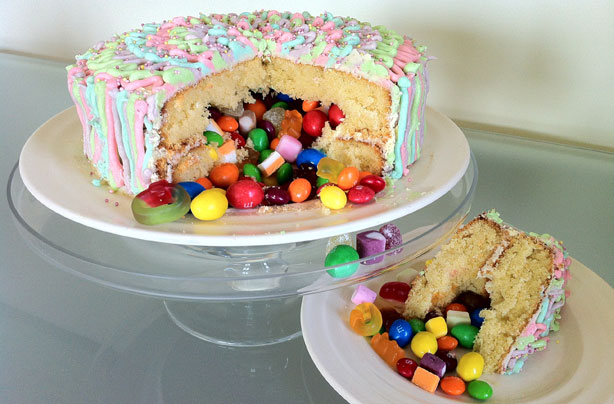
Cut into a normal looking sponge cake to reveal a naughty surprise - it's packed full of sweets!
But how is it done? It's actually quite easy to hide a hidden centre in your bakes - and we're here to show you how.
With
our simple step-by-step recipe, our piñata cake is much easier to make
than you may think. All you have to do is hollow out the inside of the
sponge after baking and pack it with a variety of sweets.
You
can choose jellied sweets like Haribo or chocolate sweets like
M&Ms, just remember to make sure your cake is completely cooled
before you add the sweets otherwise they’ll melt inside.
Decorate
with different coloured buttercream to make it extra special. We used
purple, blue, pink and green, but you could use whichever colours you
prefer – you could even go one step further a choose all the colours of
the rainbow!
This cake should serve up to 6 people and
will last 3 days in an airtight container. This recipe would work just
as well with a chocolate cake mixture and you can also fill it with
fresh fruits or chocolates - the possibilities are endless!
The
cake is named after a classic pinata which kids beat to make the sweets
fall out, but we wouldn't advise taking a bat to this treat: it's far
too tasty to waste. Simply slice into the pinata cake to reveal the
surprise. Little eyes will light up seeing the sweets tumble out the
middle of this extra special bake.
This cake takes 25 mins to bake and 1hr to fill and decorate.
Equipment
- 2x21cm/9inch cake tins (3cm height)
- Greaseproof paper
- Piping bag
- Electric hand whisk
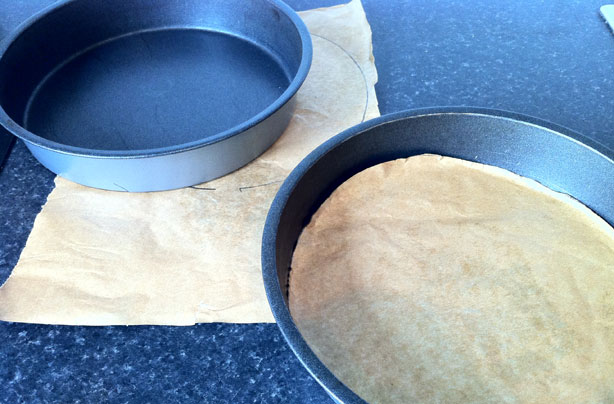
Step 1
Preheat oven 180°C/350°F/Gas Mark 4 and line 2x 21cm/9inch cake tins with greaseproof paper.
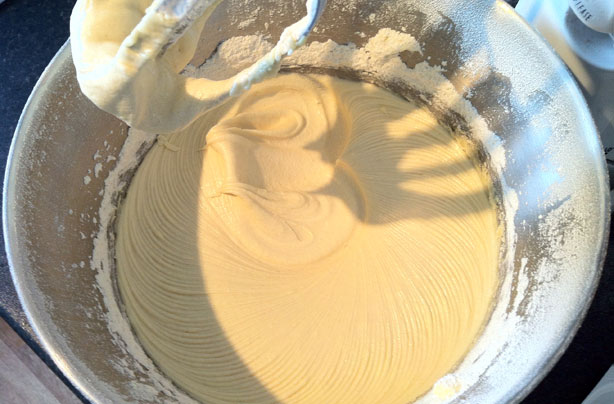
Step 2
Make your sponges using the all-in-one method, pour all of the
ingredients into a large mixing bowl and whisk with an electric hand
whisk until combined. Once combined, pour into the cake tins making sure
you they’re as even as possible.
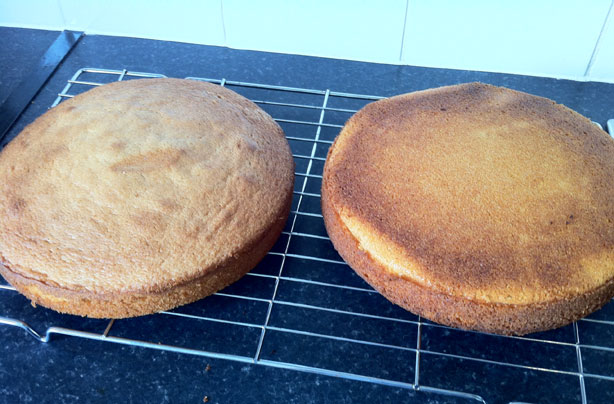
Step 3
Bake in the oven for 20-25 mins until springy to the touch. Turn the
cakes out onto a wire rack and decide which is going to be the base and
which is going to be the topper. Turn the base upside down and leave to
cool.
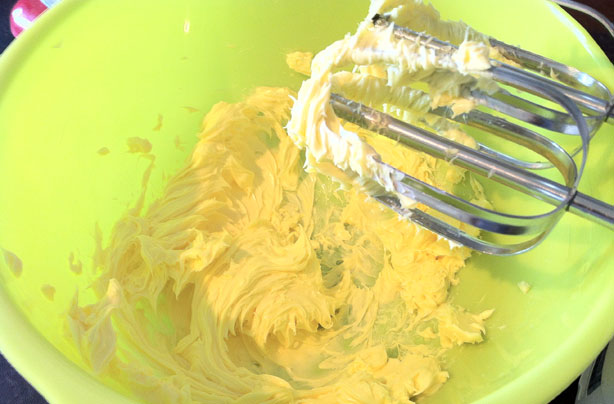
Step 4
Meanwhile prepare the buttercream. Whisk the butter and vanilla
extract and gradually add in the icing sugar until combined. If the
mixture is too thick, add a little water, if it’s too thin, add some
more icing sugar until it reaches a creamy texture. You don’t want the
mixture to be too wet as you’ll be adding food colouring to it later on.
Leave to one side.
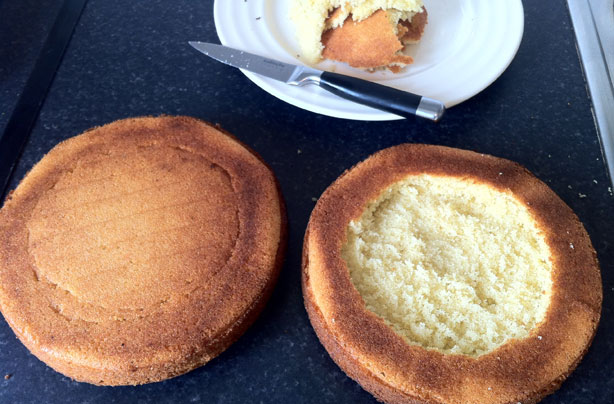
Step 5
Turn the top cake upside down and mark out a circle on the sponge
using a sharp knife. Make sure you don’t cut all the way through the
sponge, you want to go half way down and scoop out the insides. Do the
same to the base cake.
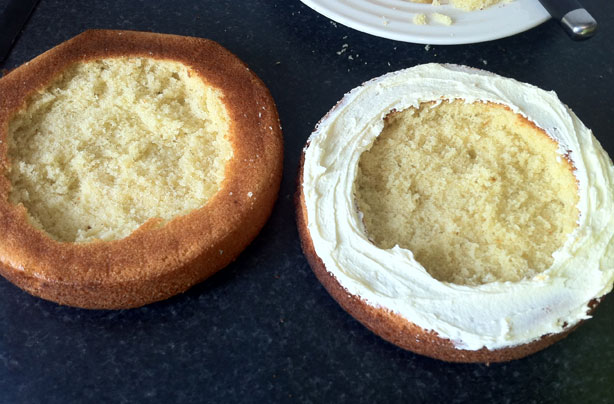
Step 6
Once you’re happy with both sponges, cover the outside edges of each
layer with a light buttercream. You can do this neatly using a small
spoon or spatula.
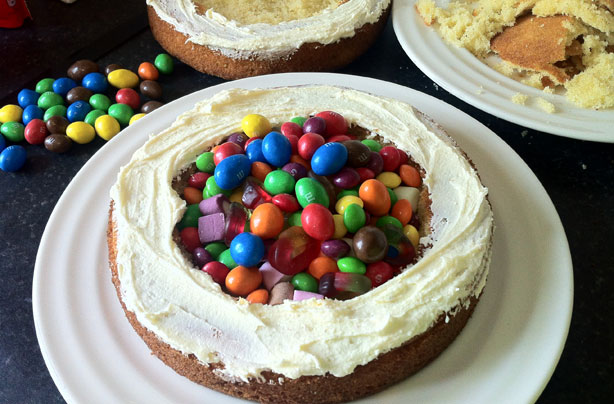
Step 7
Pop the base cake onto your chosen serving plate or board and pack it
with different sweets and chocolates. Make a little mound of sweets and
when you’re happy with the amount put the topper cake on top like a
lid. Press the edges down firmly so they sandwich together.
Step 8
Coat the cake in a light buttercream layer – this is a crumb coat
which will stop any crumbs from sticking onto your final decorations.
Leave to one side to set.
Step 9
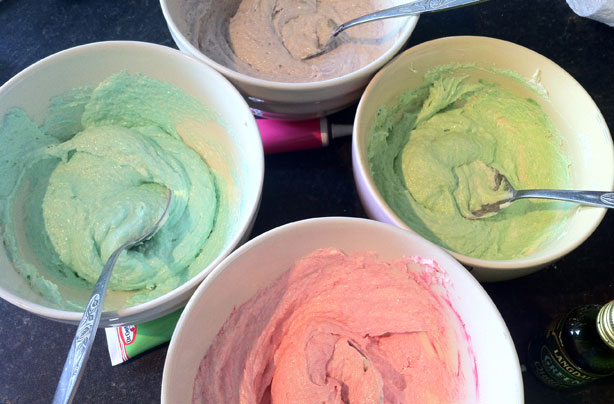
Split the rest of the buttercream mixture evenly into 4 separate
bowls. Add a few drops of food colouring to each e.g. purple, blue,
green and pink and mix with a spoon until you’re happy with the colour.
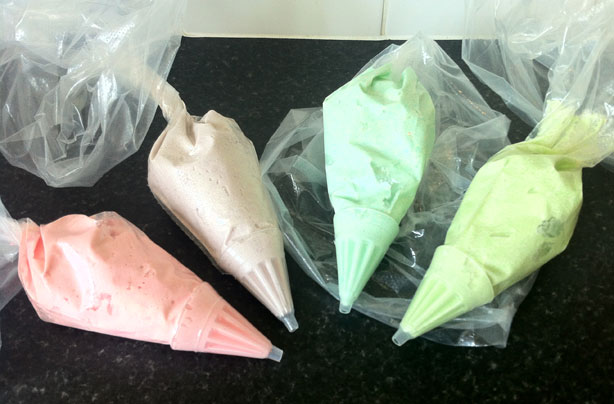
Step 10
Spoon the mixtures into individual piping bags and pop them into the
fridge to firm for about 5-10 mins, so the colours don’t run or blend
when you pipe them onto the cake.
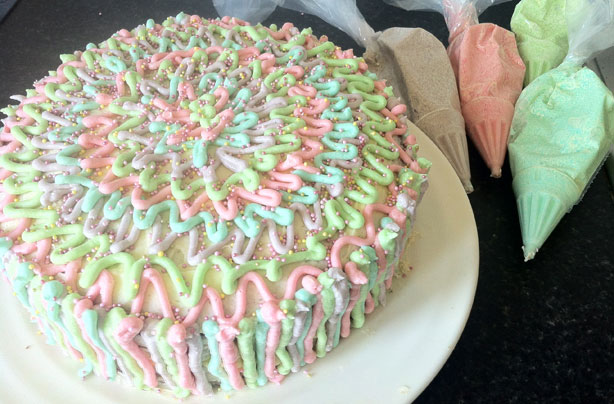
Step 11
Take the piping bags out of the fridge and pipe onto the cake. Start
from the outside and work in drawing different coloured wavy lines with
the nozzle.
Step 12
Once you’re happy with the top, work on the sides. Start from the
bottom and pipe up the cake edges pulling away as you reach the top of
the cake. Sprinkle the cake with hundreds and thousands to finish.
Step 13
Serve on a cake stand and cut into the middle of the cake using a sharp knife, revealing the sweetie surprise!
Source:http://www.goodtoknow.co.uk/recipes/538571/pinata-cake